.png)
How to create a new Listing?
Step-by-step guide for Creating a New Listing and publishing it on your live Website. These instructions cover all essential steps from entering the property details, uploading property images and floor plans, to publishing the listing on your Website and posting it on your social media accounts.
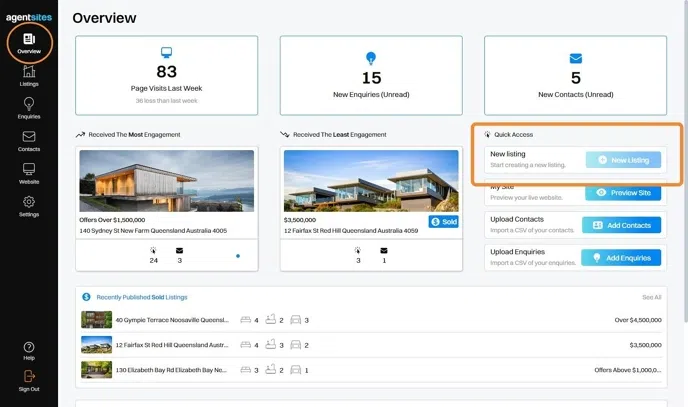
1. From either the Overview or Listings page, click New Listing.
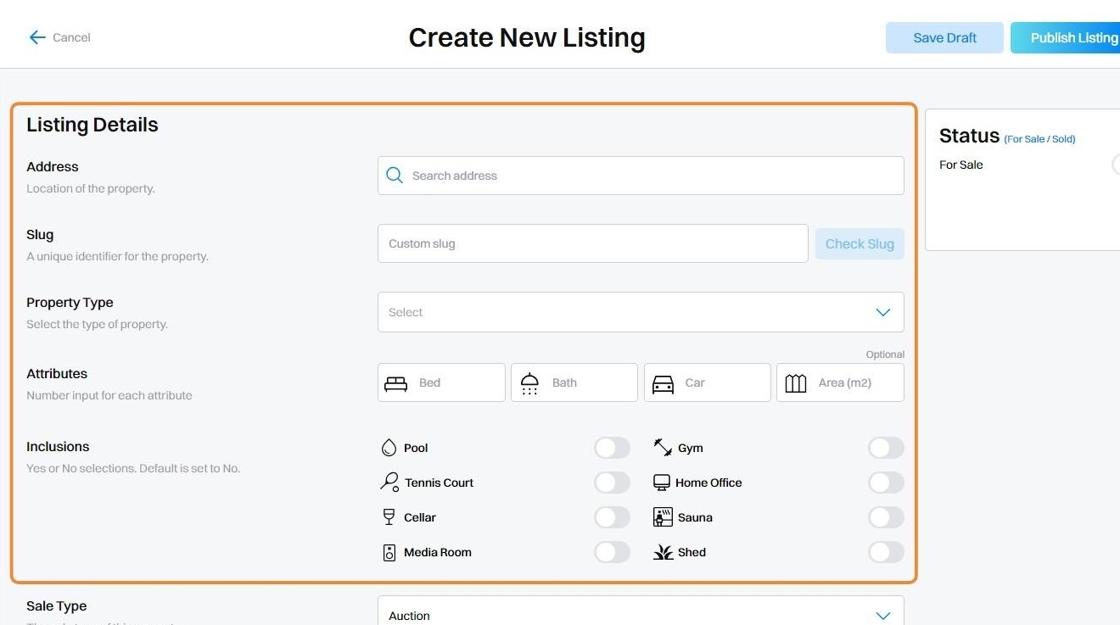
2. Under Listing Details, enter in all relevant property details:
- Address: Searching for the property address will present a drop-down menu to select the correctly formatted address for your new Listing.
- Slug: The Address input will generate a unique Slug for the unique URL to this Listing page (note: you can change the slug later).
- Property Type: Select the Property Type from the drop-down list, or you can enter your own type.
- Attributes: Populate the property Attributes for the number of Bedrooms, Bathrooms and Car Spaces, as well as the Area (note: the Area field refers to either floor space or land size).
- Inclusions: Select any additional Inclusions relevant to your property.
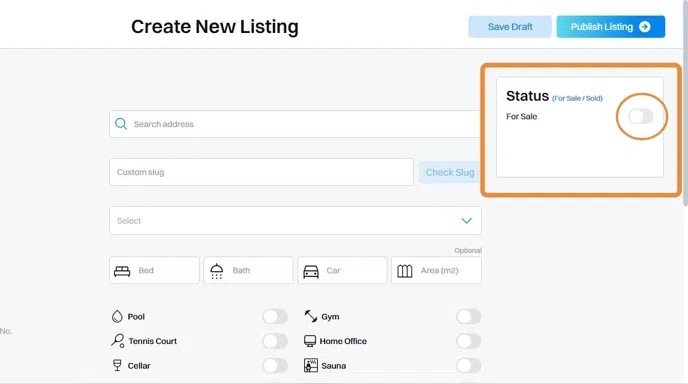
3. Set the Status of the Listing, either as For Sale or Sold.
For Sold Listings, add the Display Price which is displayed publicly (Note: this can be text e.g. "Contact Agent") and the Actual Sold Price which remains hidden.
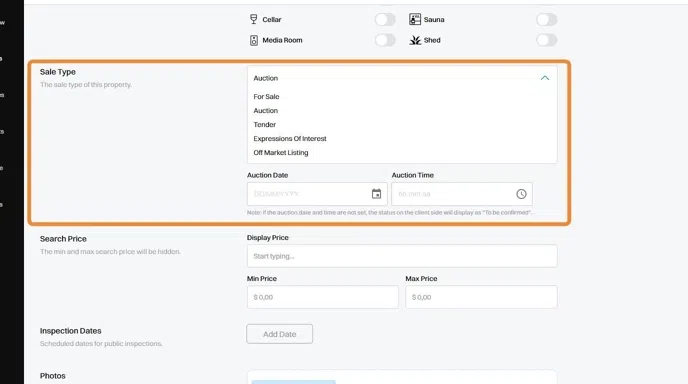
4. Select the Sale Type to reflect the type of marketing process being undertaken for this Listing (e.g. Auction, Expressions of Interest etc.).
Note: For 'Auction'; you can set your Auction Date and Time (this can be left blank, in which case the Listing will show the Auction Time as 'To be confirmed' until it is added).
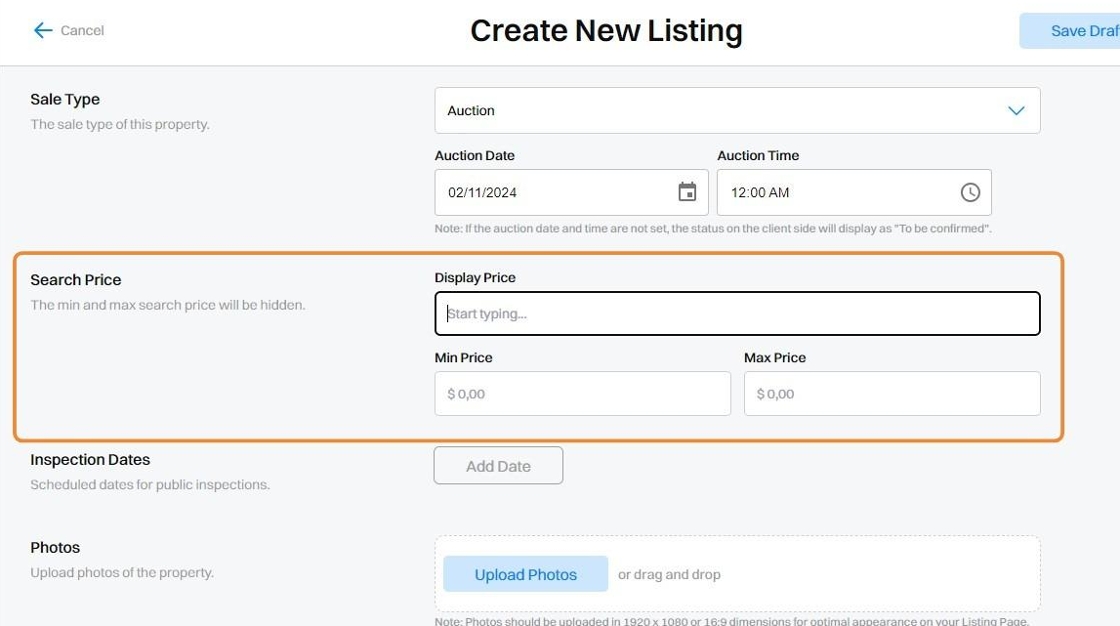
5. Set the Display Price to be shown publicly on your Listing (note: this can be text e.g. "Contact Agent").
For the Search Price, which is not displayed publicly, set the Min and Max price range for the Listing (note: the Search Price is not shown publicly on your Website).
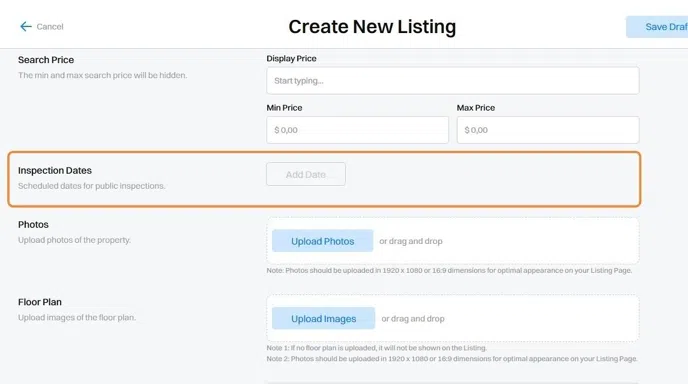
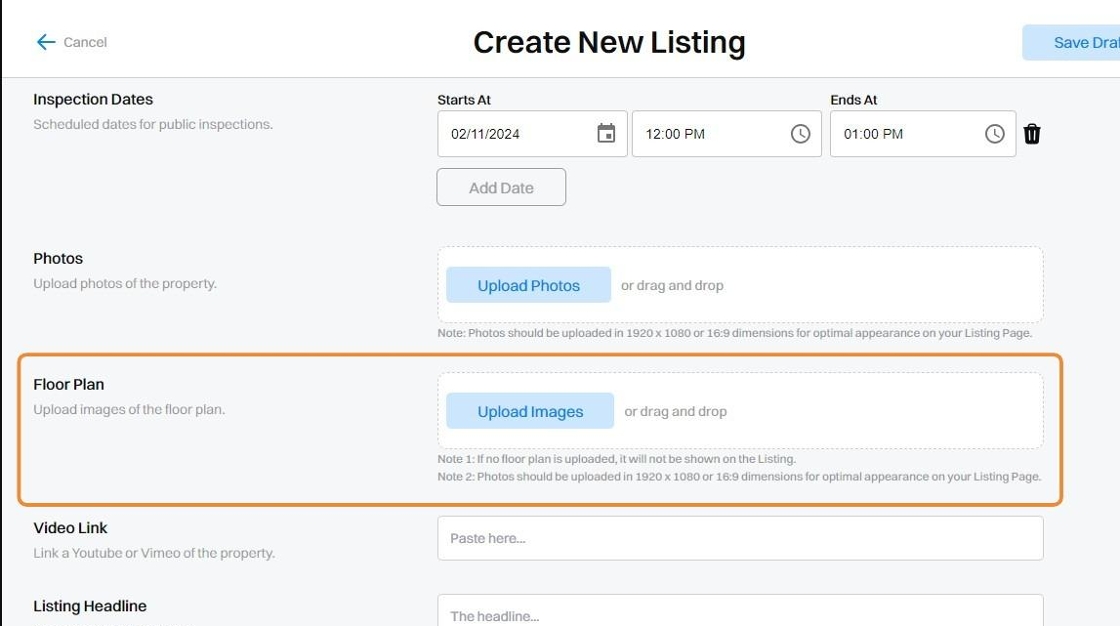
6. Set the public Inspection Dates of your Listing. You can add multiple inpsection dates as required.
(Note: If this is left blank, your published listing page will show the Inspection Dates as 'To be confirmed' until they are added later).
7. Upload Photos of the property using either File Upload or Drag-and-Drop.
Photos should be uploaded in 1920 x 1080 or 16:9 dimensions for optimal appearance on your Listing Page.
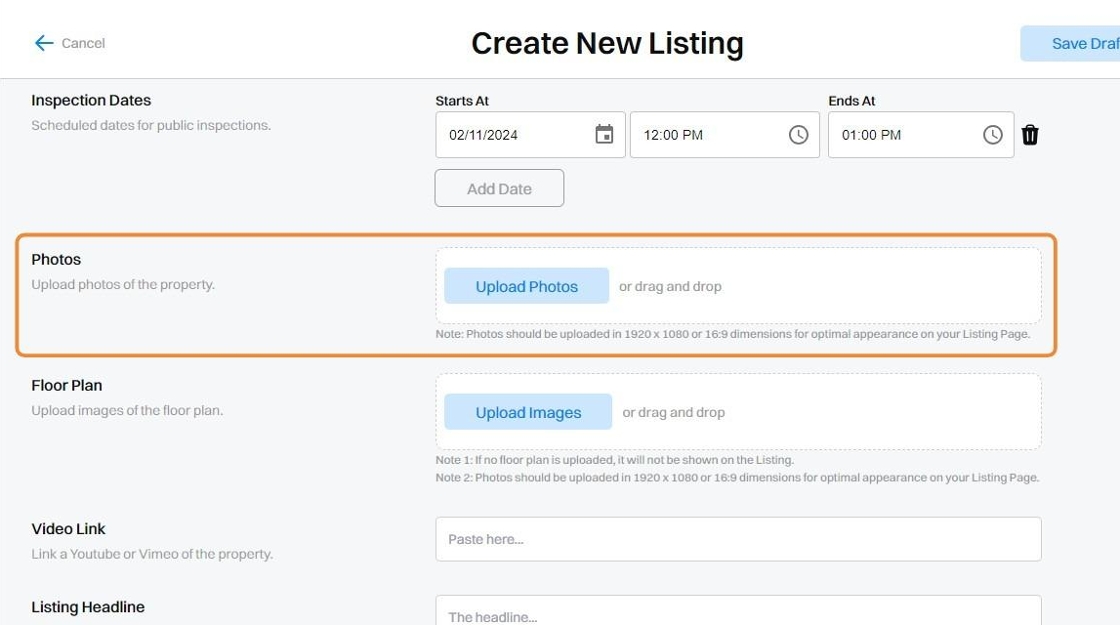
8. Upload Floor Plan of the property using either File Upload or Drag-and-Drop. You can upload multiple Floor Plan images.
If no Floor Plan is uploaded, no Floor Plan button will be shown on the published Listing Page.
Images should be uploaded in 1920 x 1080 or 16:9 dimensions for optimal appearance on your Listing Page.
9. Add a Video Link to your marketing video or virtual tour of the Listing (if one is available). The Video Link must be hosted on either Youtube or Vimeo.
Note: This can be left blank if no video is available for the Listing. No video link will appear on the published Listing page.
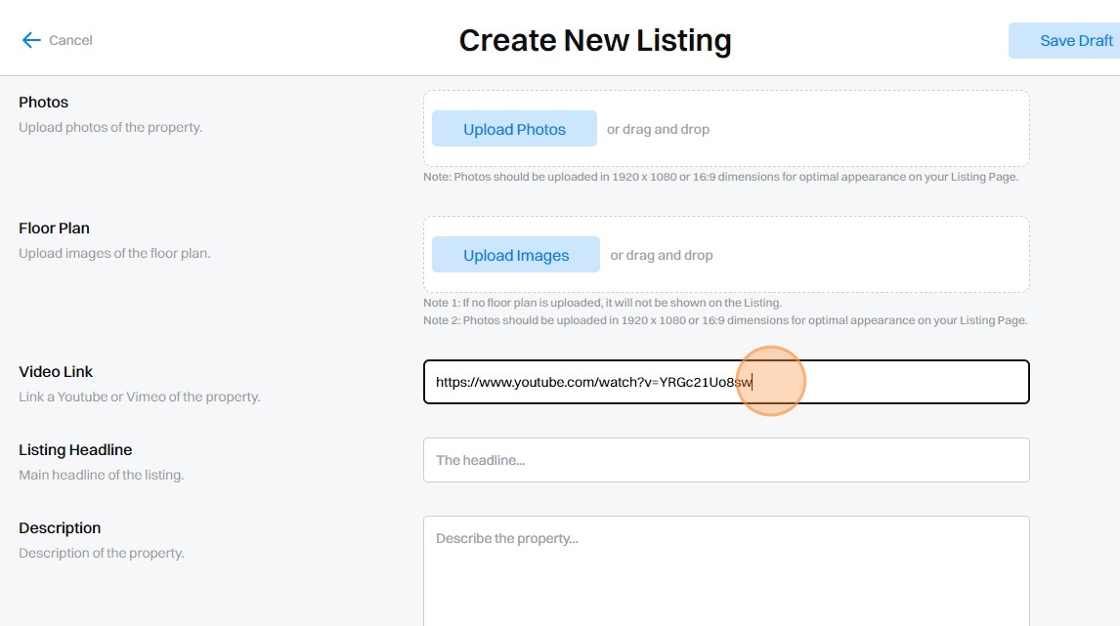
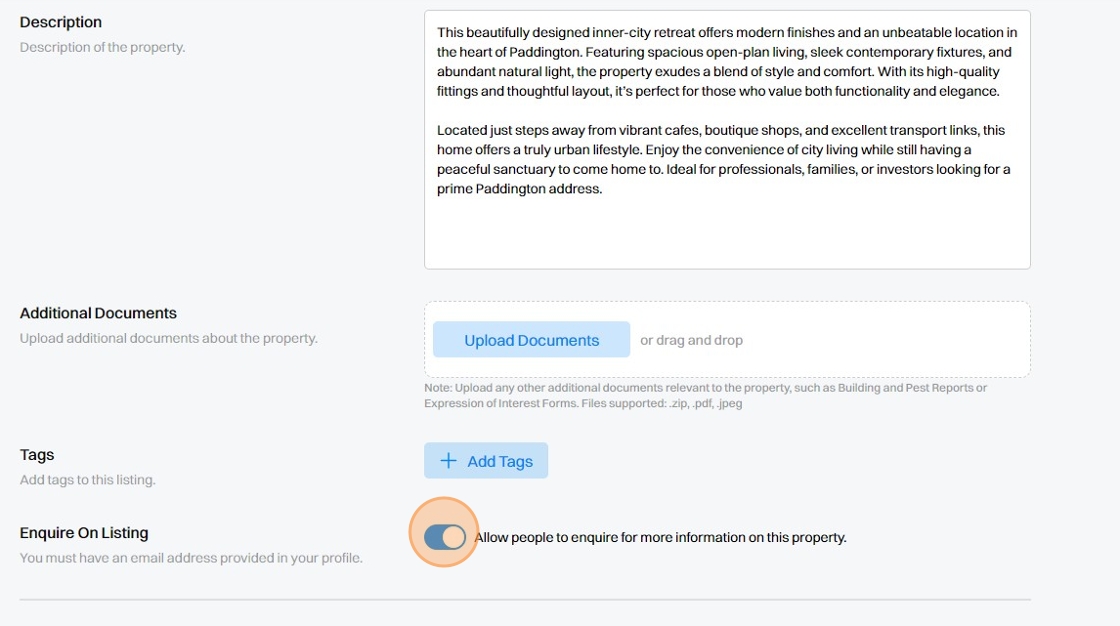
10. Add the text copy for your Listing, which includes the Listing Headline and the Description of the Listing.
The Listing Headline is a single line headline statement of the property. The Description is the bulk text overview of the property.
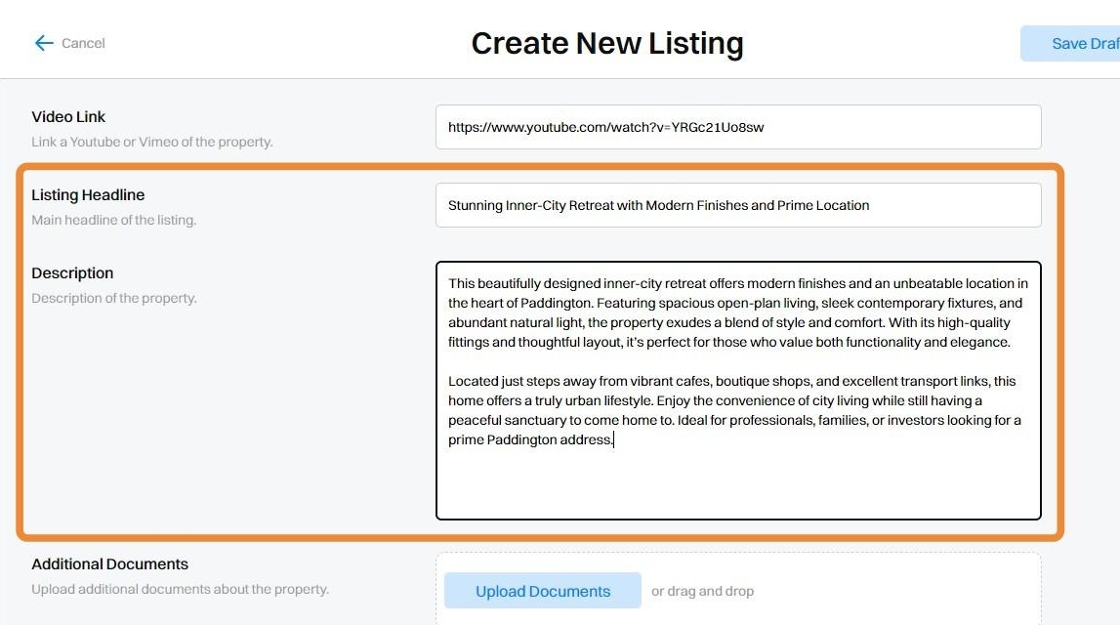
11. Add any Additional Documents that may be relevant to your Listing. For example, 'Expression of Interest Forms' or 'Building and Pest Inspection Reports' etc.
Files supported include: .zip, .pdf, .jpeg.
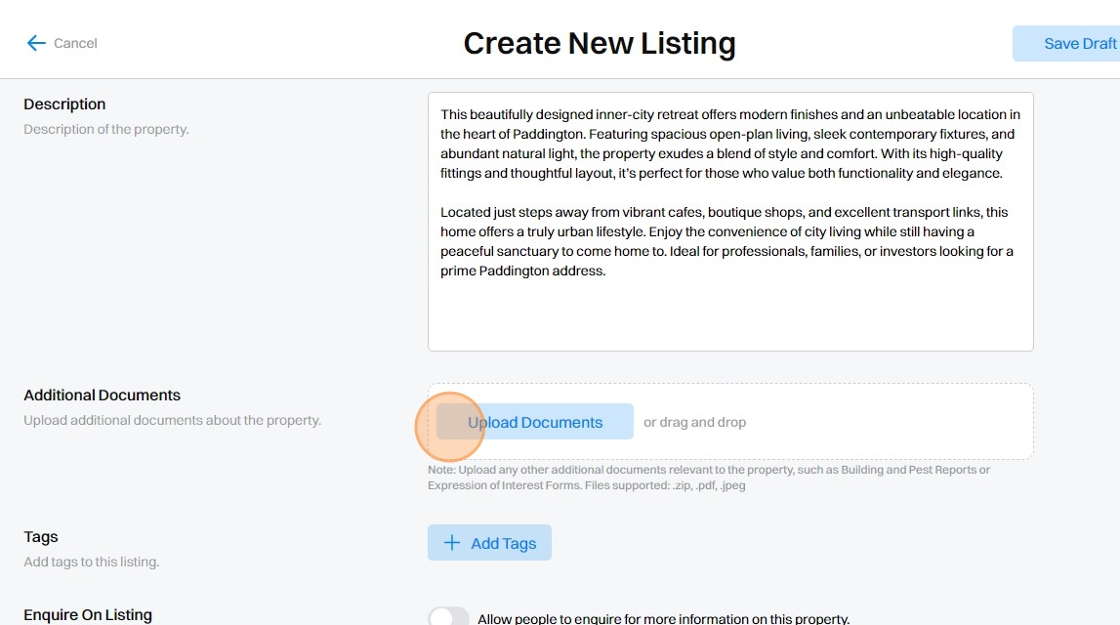
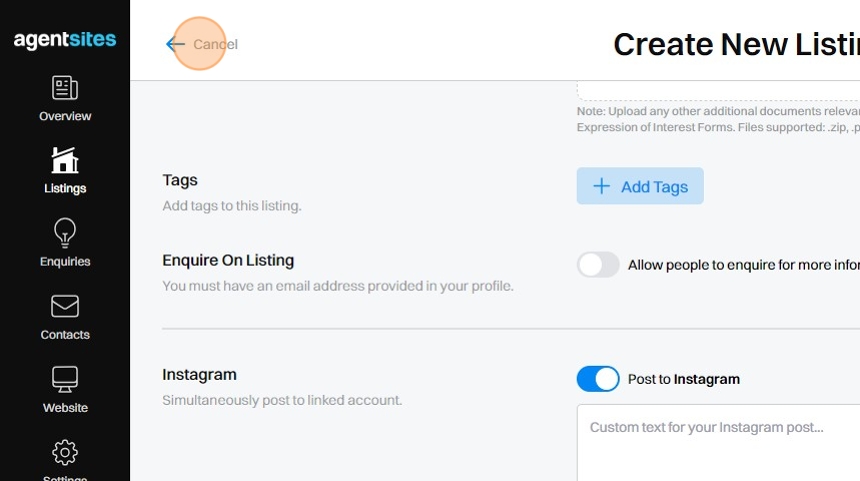
12. Tags can be added to the Listing.
Select from existing Tags already saved in your Master List in Settings, or alternatively create a new Tag specific to this particular Listing. Detailed instructions for How to add Tags to a Listing are provided in a separate FAQ article.
Tags added to a Listing will be automatically assigned to any Contacts who submit enquiries on the Listing.
(Note: Any new Tags created during the Create Listing will automatically be saved to your Master List in Settings).

13. Select whether to allow people to Enquire On Listing.
This will allow people to submit enquiries about the Listing directly from the Listing Page published on your live Website.
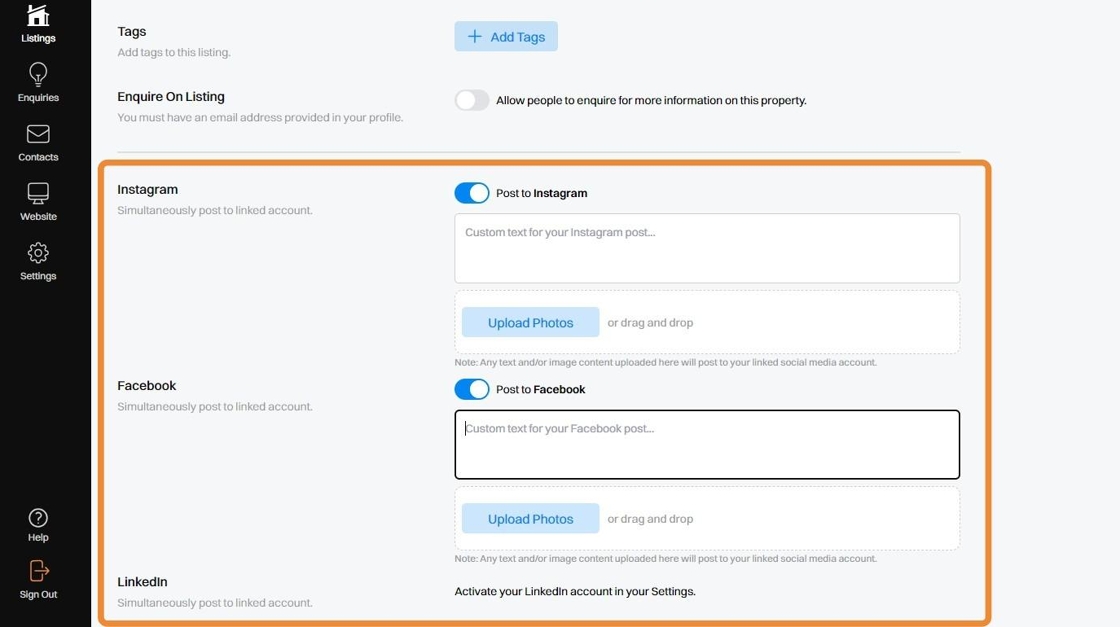
14. Select whether to post this listing to your linked Social Media Accounts when you choose to Publish the Listing.
Detailed instructions for posting listings directly to your social media accounts can be found in a separate FAQ Article.
15. Click on Publish Listing to upload and publish the Listing to your Live Website. (Note: Clicking Publish Listing will also automatically post the Listing onto your Social Media Accounts if this has been turned on in the step prior).
Alternatively, click Save Draft at any time whilst you a Creating a New Listing if you wish to return to task later, without Publishing it to your Live Website.

16. Click "Cancel" at any time to delete the New Listing that is being created.